Make Temporary Tattoos Yourself: 5 Simple DIY Tips
Easily make temporary tattoos yourself with our DIY guide. Choose your own design and create unique tattoos in no time. Read more quickly on tattforaweek!

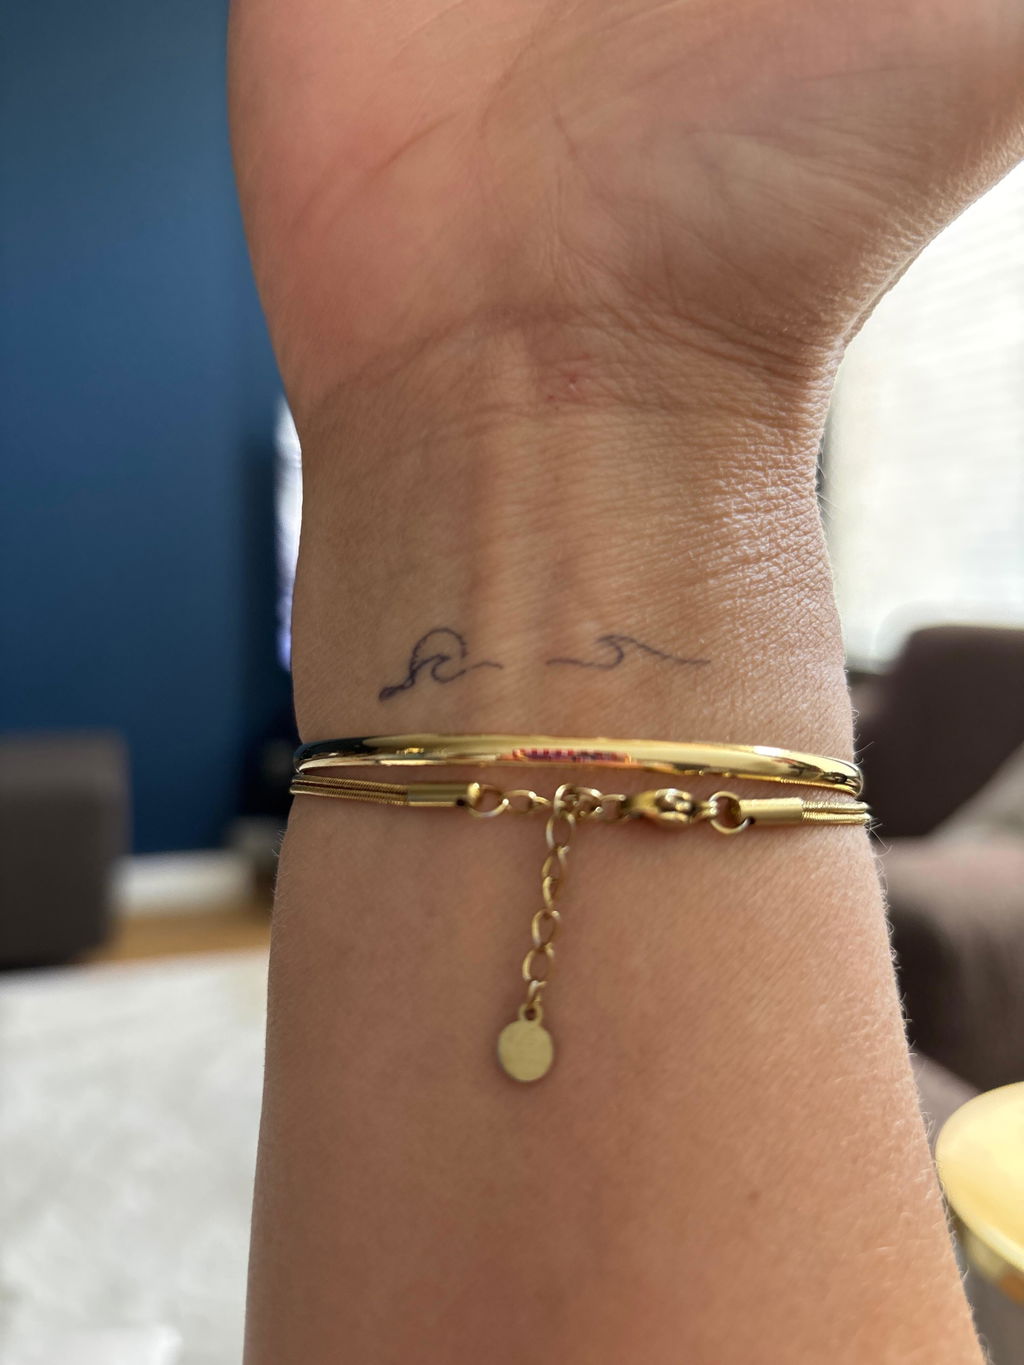
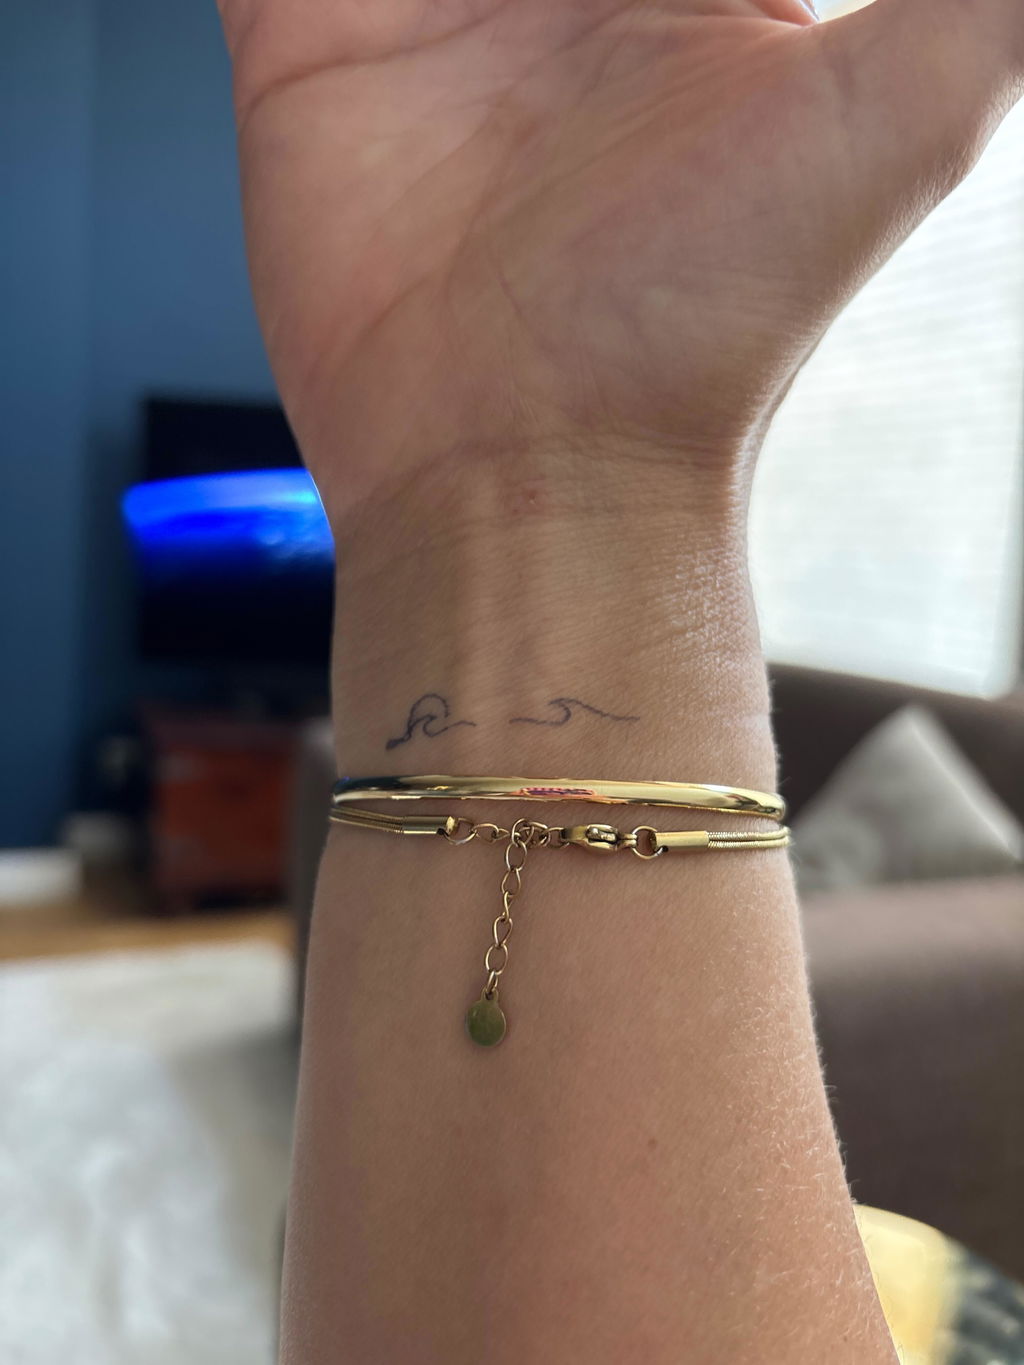
Always wanted a tattoo but not ready for permanent ink? Then temporary tattoos are the perfect solution! You can experiment endlessly without a lifelong commitment. Even more fun is to get creative yourself and make your own unique designs. In this blog post, you’ll learn how to easily make temporary tattoos at home.
To get started, you only need a few things. With these basic supplies, you can quickly make your own temporary tattoos:
Optional are special tattoo transfer paper and a printer, but these are not necessary. With the above items and some creativity, you’re already well on your way!
Making a DIY temporary tattoo is easier than you might think. Follow these steps to get quick results:
One of the best things about making your own temporary tattoos is that you can vary the designs endlessly. Let your imagination run free! Here are some ideas to get you started:
With these tips, you’ll ensure your DIY temporary tattoos look extra nice and last longer:
Homemade temporary tattoos usually last several days up to a week. If you want to remove the tattoo earlier, soak the skin with warm water and soap or use some baby oil. Gently rub over the tattoo until it disappears. To keep your DIY tattoo looking good longer, avoid rubbing it too much and stay away from chlorine or alcohol.
Making temporary tattoos yourself is a super fun and creative activity. You can vary and experiment endlessly with different designs, without the permanent commitment of a real tattoo. Looking for even more inspiration? Check out the collection of ready-made temporary tattoos from tattforaweek!