Design your own personal tattoo in 5 steps
Design your own personal temporary tattoo with our tips. From idea to design in a few steps. Let your creativity run free and start today!

Designing your own personal tattoo is a unique way to express yourself creatively. Whether you want a meaningful message, an artistic design, or a funny illustration, a temporary tattoo allows you to bring your ideas to life without using permanent ink. In this blog post, you will learn step by step how to design your own personal temporary tattoo.
Before you start designing your personal temporary tattoo, it is important to have a clear concept in mind. Think about the meaning or message you want to convey. Do you want a symbolic design, an artistic illustration, or maybe a humorous drawing? Gather inspiration from various sources, such as art, nature, or personal experiences.
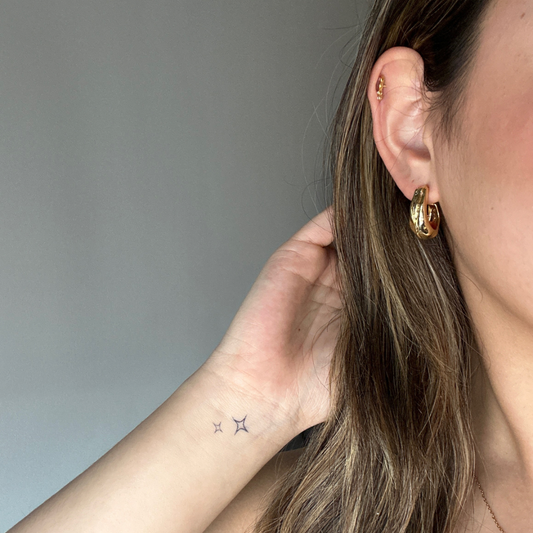
Start by making rough sketches of your tattoo ideas. Experiment with different styles, such as traditional, realistic, abstract, or minimalist. Try out multiple variations and refine your design until you are satisfied with the result. Consider the size and placement of the tattoo on your body.
Once you are happy with your sketch, it’s time to digitize your design. You can use various programs for this, such as Adobe Illustrator, Procreate, or even free online tools. Create a vector file of your design so it can be easily adjusted and scaled without loss of quality.
Now that your digital design is ready, you can play with colors and details. Carefully consider which colors best fit your concept and the style of your tattoo. Add subtle shadows, highlights, or textures to give your design more depth and dimension. Make sure the colors contrast well and are readable on the skin.
Before having your personal temporary tattoo printed, it’s wise to make a test version. Print your design on temporary tattoo paper and apply it to your skin. This way, you can see how it looks in real life and make any adjustments before placing a larger order.
Designing your own personal temporary tattoo is a fun and creative way to express yourself. By following these steps and experimenting with different styles and concepts, you can create a unique and meaningful design that perfectly suits you. Don’t be afraid to think outside the box and let your creativity run free!
Feeling inspired and ready to design your own personal temporary tattoo? Visit tattforaweek and discover how easy it is to bring your unique design to life on your skin. Let your creativity flow and create a tattoo that reflects your personality and style!